Showing posts with label tutorial. Show all posts

Saturday, May 19, 2012

Making your own chalk


Wow, I was looking for this recipe too! How to make homemade chalk! It is extremely easy and you can do it together with your kids! I'm sure they will have fun too!

What you need are:
•    Toilet paper tubes
•    Scissors
•    Duct tape
•    Wax paper
•    Disposable container to make the recipe
•    ¾ cup of warm water
•    1 ½ cups Plaster of Paris
•    2-3 tablespoons of tempera paint/ food coloring
•    Paper bag or a “mess mat”

 You can read the step by step tutorial here. Now we have DIY more colors as we want! Hurray!

Thursday, May 17, 2012

Making Own bubbles


I like bubbles, so do my kids... we love to blow during evenings in our small garden.

Normally I will get the liquid from mall but I think it is too expensive for long run.

Today, I found away of doing it at home! Come, let's join the DIY bubbles!

What you need to prepare are:

1 1/2 quarts of water
1/2 cup light corn syrup
1 cup liquid dish soap

To learn how to make? See here.


To made your own corn syrup, here are the ingredients:
  • 2 cups white sugar
  • 3/4 cup water
  • 1/4 teaspoon cream of tartar
  • 1 pinch salt 

Friday, August 19, 2011

How To Weight A Doll

This article originally from: Sarah Waldorf Playroom. Sarah is selling the doll materials, kit and also ready made doll. Feel free to visit her website.

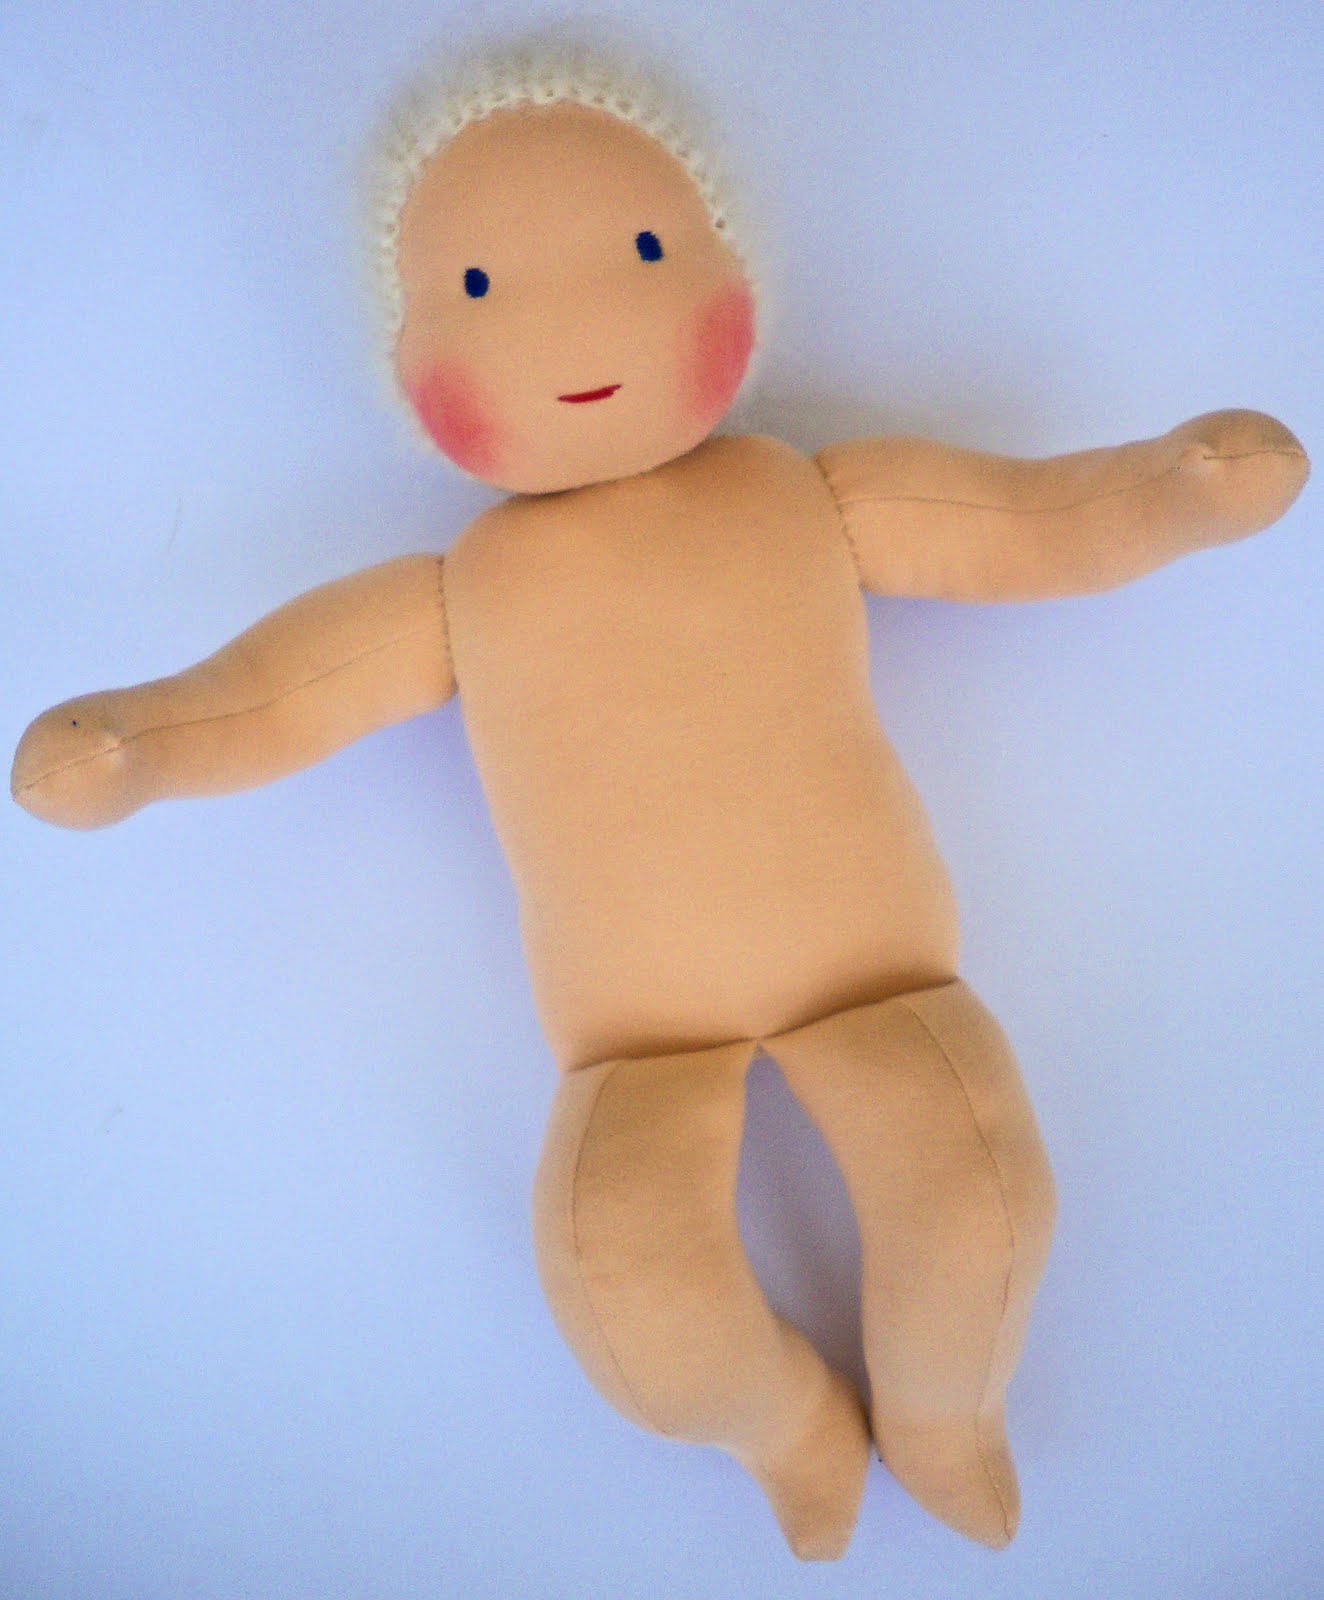
Weighted dolls feel so amazingly real, and children feel comforted by the solid feeling of the extra weight. The best dolls to weight are the baby dolls, and in this tutorial I am weighting the DreamTime baby from this pattern. I use quartz sand to weight my dolls because, for one, it is in abundance where I live and, for two, I have tried rice and millet and both got eaten - once by mice and the other by weevils! So I find sand the best product to weight dolls. I usually stick to between 200-250gms of extra weight, because any more than that puts too much pressure on the stitching and fabric.

Step 1: Find some sand. My backyard is full of it! Put it through a sieve and throw away any sticks or sharp bits.
2. Sew a bag (approx 3.5"-2.5") using the sewing machine on a small stitch, fill with sand to 200-250gms
3. Tightly hand sew the open bit, and soften the corners of the bag.
4. Now the bag is ready to place inside the doll's body.
5. Encase with wool stuffing:
6. Stuff the buttocks of the doll;
7. Push the bag, surrounded by wool stuffing into the lower belly region of the doll's body, then continue stuffing as before:
8. Use a wooden spoon to make sure that body is stuffed evenly.
9. Sew doll as per the rest of the pattern:

 Your doll is ready!

Wednesday, August 10, 2011

Wet on Wet Painting Techniques

Found this video clips created by someone from Russia. Sorry, I can't read their language, therefore I can't quote much about the video clips owner. However, from the clips, we can easily understand the basic concept and preparation for painting wet on wet.

Thanks to the owner.


Let's see how the kid paints with these techniques:


Wednesday, July 20, 2011

粉彩教程

孩子可以任意在地上画画是多么快乐的事, 家长往往想到后来的清洗就开始退缩, 因为觉得很麻烦, 而且色料并不便宜。 现在经济不景气, 能省则省, 这些也许会被归纳为“奢侈”的活动念头往往就会被报销了。 

今天网上闲逛时看到了这个分享。 喜欢让孩子绘画的家长可以一石二鸟了! 便宜又容易清洗的原料, 又可以方式的让孩子在地上画画, 赶紧学起来吧!呵呵, 孩子一定超喜欢的!

你只需要粟粉(cornstarch)、水、食物色素(food coloring)、碟子和刷子就可以了!

图片和详细的教程请参阅A craft a day


Monday, March 28, 2011

如何制作华德福打结娃娃

原文来自 Knecht Ruprecht Dolls

The traditional Waldorf silk snuggle doll is probably the most simple and yet one of the most enchanting dolls I know. It can be made for or together with a baby or a small child, coming alive though nurturing gestures, stimulating creativity by drawing on the child’s imagination.

You can use a piece of pure silk or any other natural fabric you have at hand like cotton or a piece of knitted wool.

This kind of cloth doll has been used for generations to calm and comfort young babies. If a Mama keeps this doll with her for a little while, the doll will absorb her fragrances. It's familiar 'Mama smell' is tremendously comforting to baby.

All You need is:
- One piece of pure silk with rolled hem or a piece of cotton or wool fabric you have at hand.
(Ours is 16 x 16 inch) and plant dyed with organic beetroot
- Fitting cotton thread
- Lambs wool stuffing
- Scissors


First, you need to break off a piece of wool and roll it into a ball in your hands. This wool ball will be the dolls head.


To form the wool ball, put the wool ball between your palms and roll, giving it a round shape.


Fold the fabric to find the center.


Put the wool ball into the center of the silk.


Cover the wool ball with the silk to form the dolls head.


Use the cotton thread to tie the silk around the head.


You can use a needle and a thread and make a few stitches if You want to ensure the thread will stay in its position. Now, knot two corners of the silk for hands.

Play and cuddle.

---

顺便帮作者打个广告, Knecht Ruprecht Dolls 里头卖了很多华德福娃娃, 有兴趣的朋友可以他的店去逛逛。

Saturday, February 26, 2011

Homemade glue

mix 1 cup of flour, 1/3 cup of sugar, 1 1/2 cups of water (you might need a bit more or less) and 1 tsp of vinegar. Then you warm it up on the stove till it thickens a little bit, let is cool and it is ready to use.

Source: http://ecochildsplay.com/2009/02/26/homemade-glue-for-kids-crafts/

Wednesday, July 8, 2009

on-the-go car activity mat

on-the-go car activity mat
Designer: Lisa Storms
I created this on-the-go activity mat for my 3 year old, who always wants to haul his car and tracks around with him when we leave the house. Not only is it a confined (and super cute) play area, it also comes with pockets for his matchbox cars. The whole thing rolls up into a neat, small bundle that is tied together for extra security. I don't know if my son will have more fun playing with it or if I had more fun making it! I am glad I had my versatile and high quality Fiskars sewing tools to make this project go together easily.
Instructions (Print version)
Roads
  1. To keep the road structure very simple, cut out four 5" x 7" pieces of scrap paper and place them in a grid on a half yard of gray felt on a cutting mat two inches from the edges and from each other. (You can alternately draw out any road system you can imagine free-handed to cut out.)
  2. Draw around each with disappearing ink fabric marker and remove. Draw in any driveways needs (I added one for the car wash).
  3. Cut out all marked areas out with ruler and rotary cutter.
  4. Trace roadway onto iron-on adhesive paper and trim.
  5. Follow packaging instructions to iron onto roadway and iron roadway onto green base fabric.
  6. Once cooled and secure, sew around all road edges with gray thread.
  7. Add a running stitch of yellow embroidery floss through all roads. Note: I didn't worry about where dotted lines would be on a real road since kids this young aren't usually aware of what the lines mean and crashing is the most fun part of playing cars anyway, right?
  8. Trim green base fabric 1 ¼" around top, right, and left side of roadway. Trim fabric 4 ¾" from left side of roadway.
Gas Station
  1. Cut out felt gas pump and canopy using a rotary cutter and ruler.
  2. Cut off 5" from end of black shoe string and securely (several times) sew trimmed end onto green base.
  3. Sew all felt pieces onto base with gas pump covering sewn-on shoe string.
Car Wash
  1. Cut out felt pieces for stop sign, building, roof, and washing flaps.
  2. Sew on all pieces as shown being sure to add flaps first so tops are covered by building.
  3. Sew on four clear button bubbles.
Pond
  1. Cut out pond, lily pad, grass, and cattail.
  2. Sew all pieces onto green base adding stems on cattails with thread.
  3. Sew silk flowers onto lily pad with button center.
Construction Site
  1. Cut out felt dirt mound and safety cone.
  2. Sew all pieces onto green base. Sew only one line through safety cone as shown so it can be pushed up during play.
  3. Add "under construction" ribbon or twill around dirt mound by sewing down with embroidery floss every couple inches.
Pockets
  1. Fold blue fabric in half (iron crease) and trim to 3 ¾" wide and the length of your green fabric.
  2. Sew ribbon trim along folded side of fabric.
  3. Lay onto left margin of green base and pin evenly approximately every 3 inches.
  4. Sew line at each pin to form six compartments.

Final Assembly
  1. Fold wide checkered ribbons in half and sew down each edge to form thinner ties.
  2. Lay green base over striped exterior fabric and trim to size using ruler and rotary trimmer.
  3. Place fabrics right sides together and pin, adding two long ribbons folded in half pinned into the inside of the fabrics.
  4. Sew around perimeter leaving 5" gap to pull mat right side out.
  5. Use stuffing tool to create neat edges and corners and iron perimeter.
  6. Hem and pin 5" opening and sew final stitch around entire mat.
Tip: Be sure to customize your car mat for the age of the child. For example, for a young toddler you should consider forgoing any buttons or small pieces and replacing the ribbons with a velcro closure.


resource: http://www.fiskarscrafts.com/